

Are you tired of ordering takeout biryani? Why not try cooking your own delicious Chicken Dum Biryani at home, just like a pro chef? In this step-by-step recipe, we will guide you through the process of preparing this aromatic and flavorful Indian delicacy.
With our easy-to-follow instructions, you will be able to recreate the authentic flavors of biryani, right in your kitchen. From marinating the chicken to layering the rice and spices, we will take you through each step, ensuring that your biryani turns out perfectly cooked and bursting with flavors.
Whether you’re an experienced cook or a beginner, our recipe is designed to help you achieve restaurant-quality results. By using fresh ingredients and traditional spices, you can create a biryani that will impress your friends and family.
So, put on your chef’s hat and get ready to embark on a culinary adventure. Get ready to savor every delectable spoonful of this aromatic and mouthwatering Chicken Dum Biryani.
Ingredients for Chicken Dum Biryani
- To cook Chicken Dum Biryani like a pro chef, you will need the following ingredients:
- 2 cups of basmati rice
- 500 grams of chicken (cut into pieces)
- 1 cup of plain yogurt
- 2 onions (sliced)
- 4 tomatoes (chopped)
- 4 green chilies (slit)
- 1 tablespoon of ginger-garlic paste
- 1 tablespoon of biryani masala
- 1 teaspoon of turmeric powder
- 1 teaspoon of red chili powder
- 1 teaspoon of garam masala powder
- A handful of mint leaves
- A handful of coriander leaves
- 1 lemon (juiced)
- 1/2 cup of cooking oil
- Salt to taste
Step-by-Step Process for Chicken Dum Biryani
Step 1: Marinating the Chicken
Marinating the chicken is a crucial step in preparing Chicken Dum Biryani. The yogurt helps to tenderize the chicken while the spices infuse it with flavor.
The longer you marinate the chicken, the more flavorful it will be. Make sure to refrigerate it to prevent any bacterial growth.
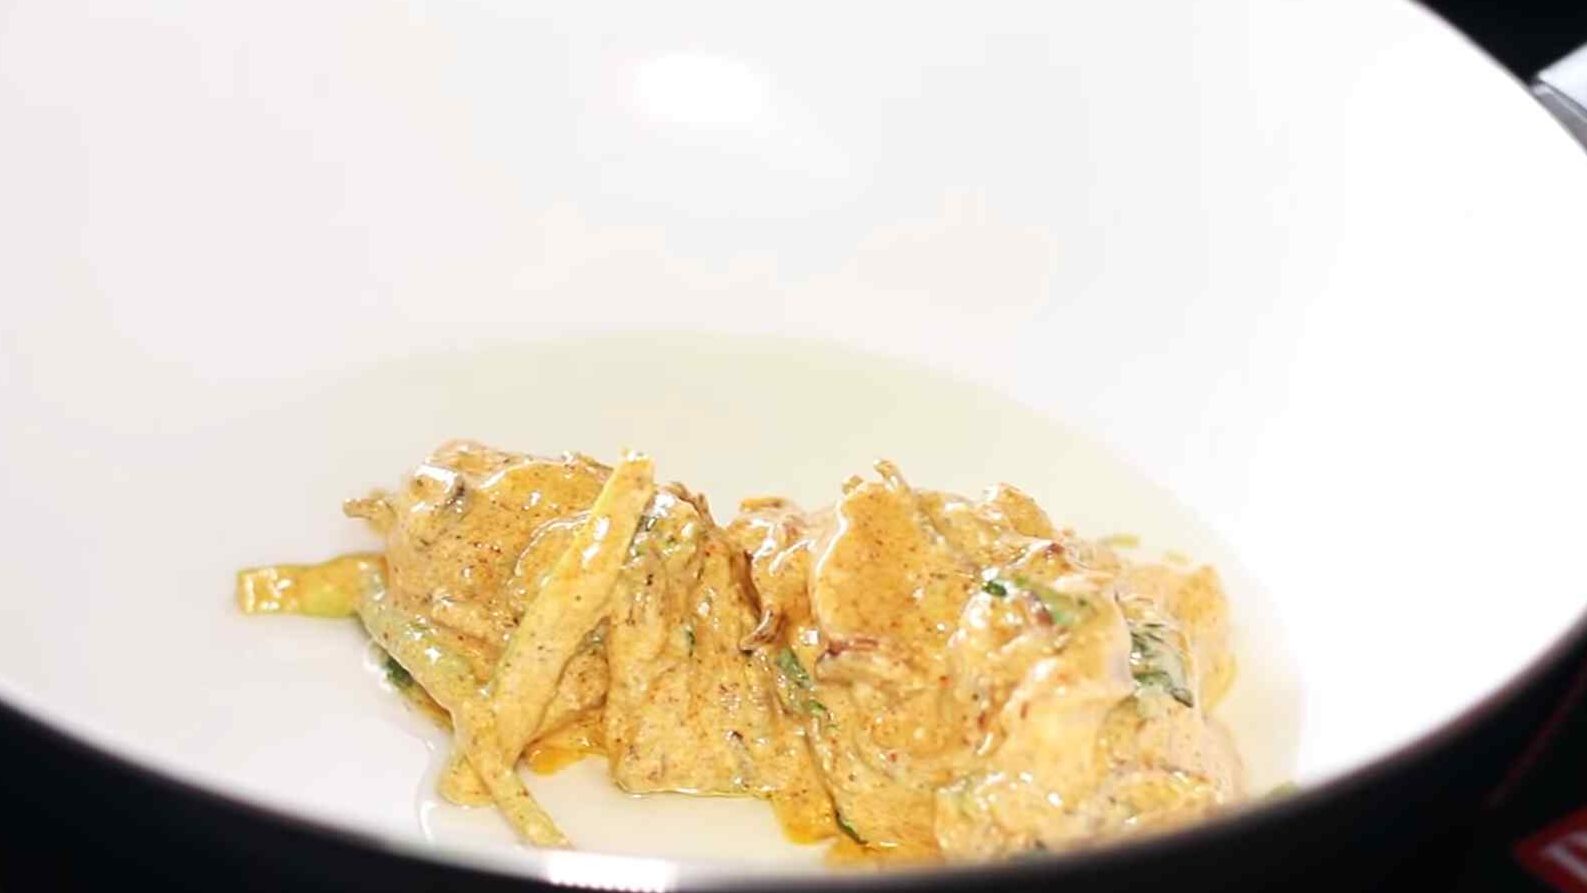
- In a large bowl, combine the chicken pieces, plain yogurt, ginger-garlic paste, biryani masala, turmeric powder, red chili powder, garam masala powder, and salt.
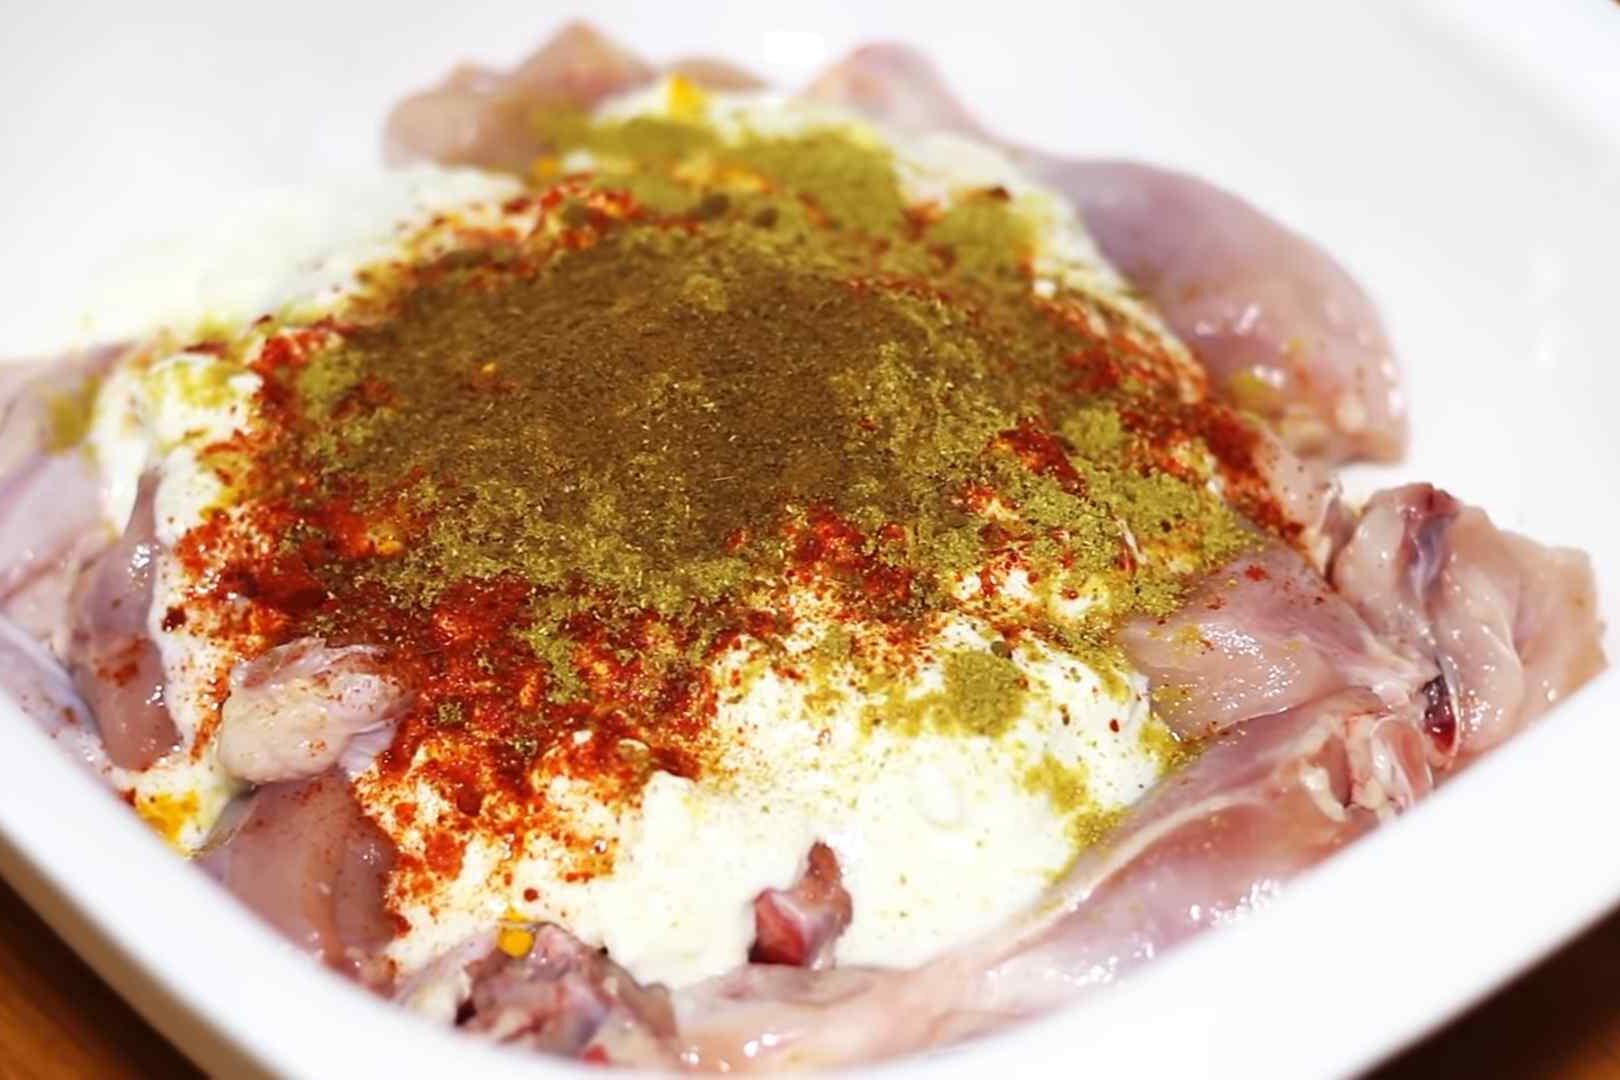
- Mix well to ensure the chicken is evenly coated with the marinade.
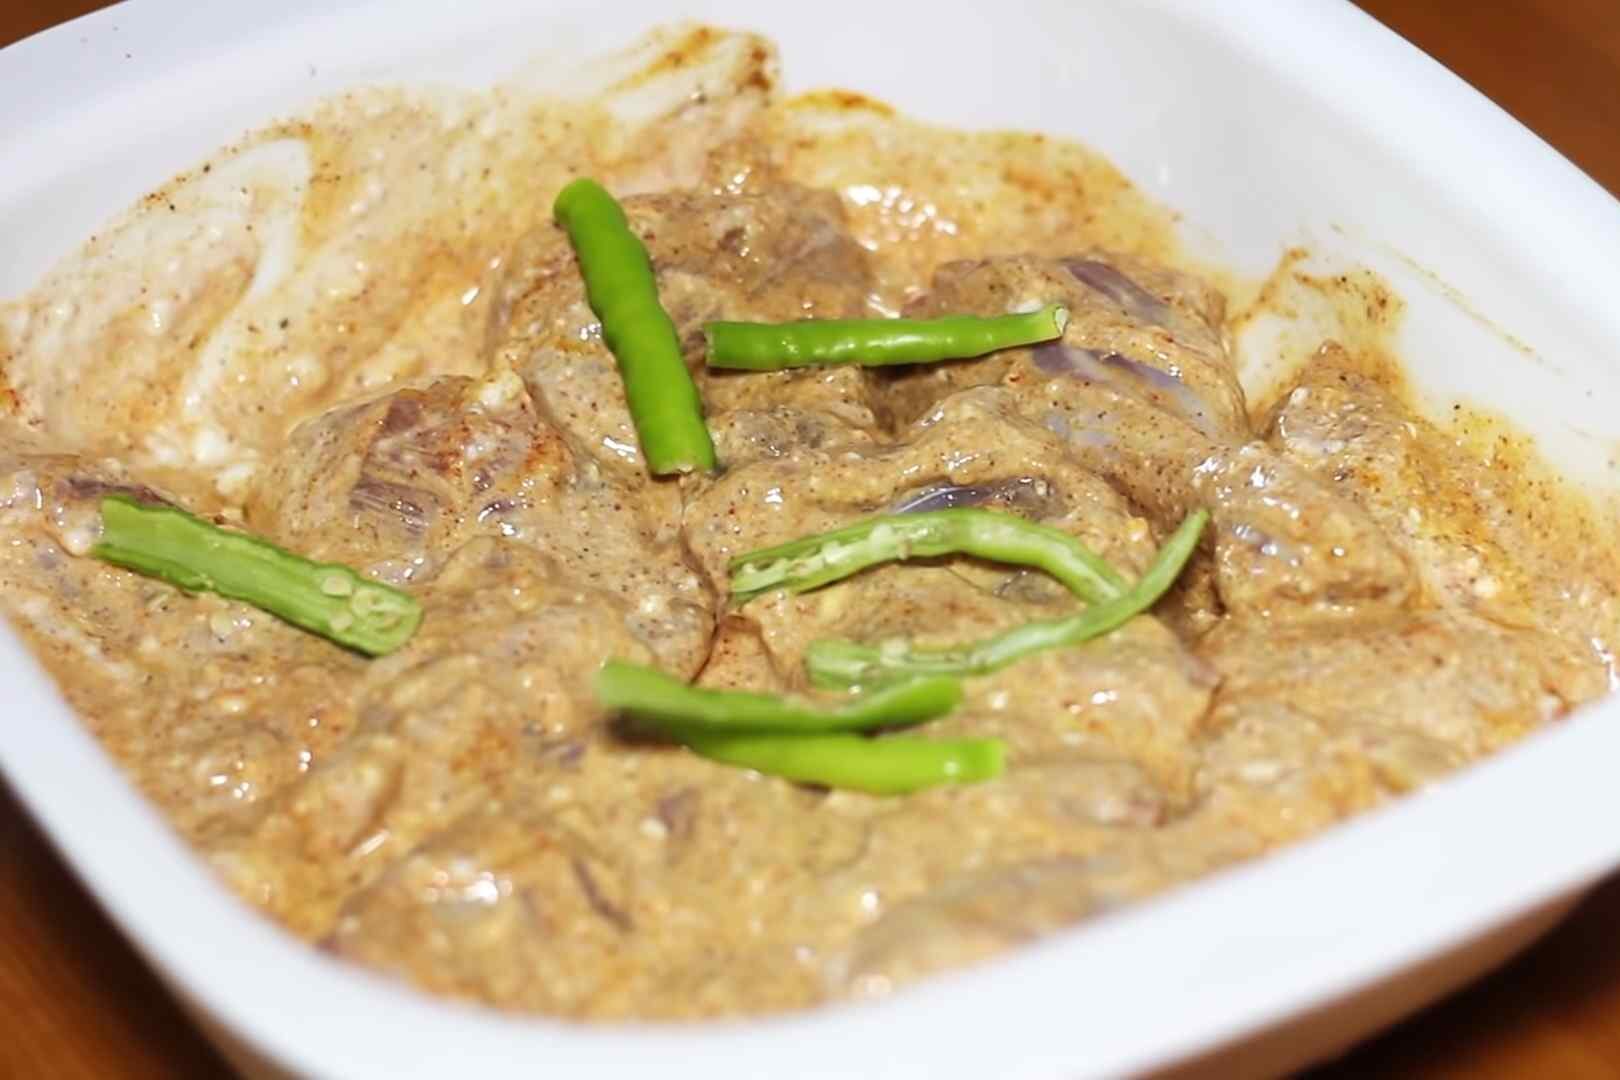
- Cover the bowl with cling wrap and refrigerate for at least 2 hours, allowing the flavors to penetrate the chicken and make it tender.
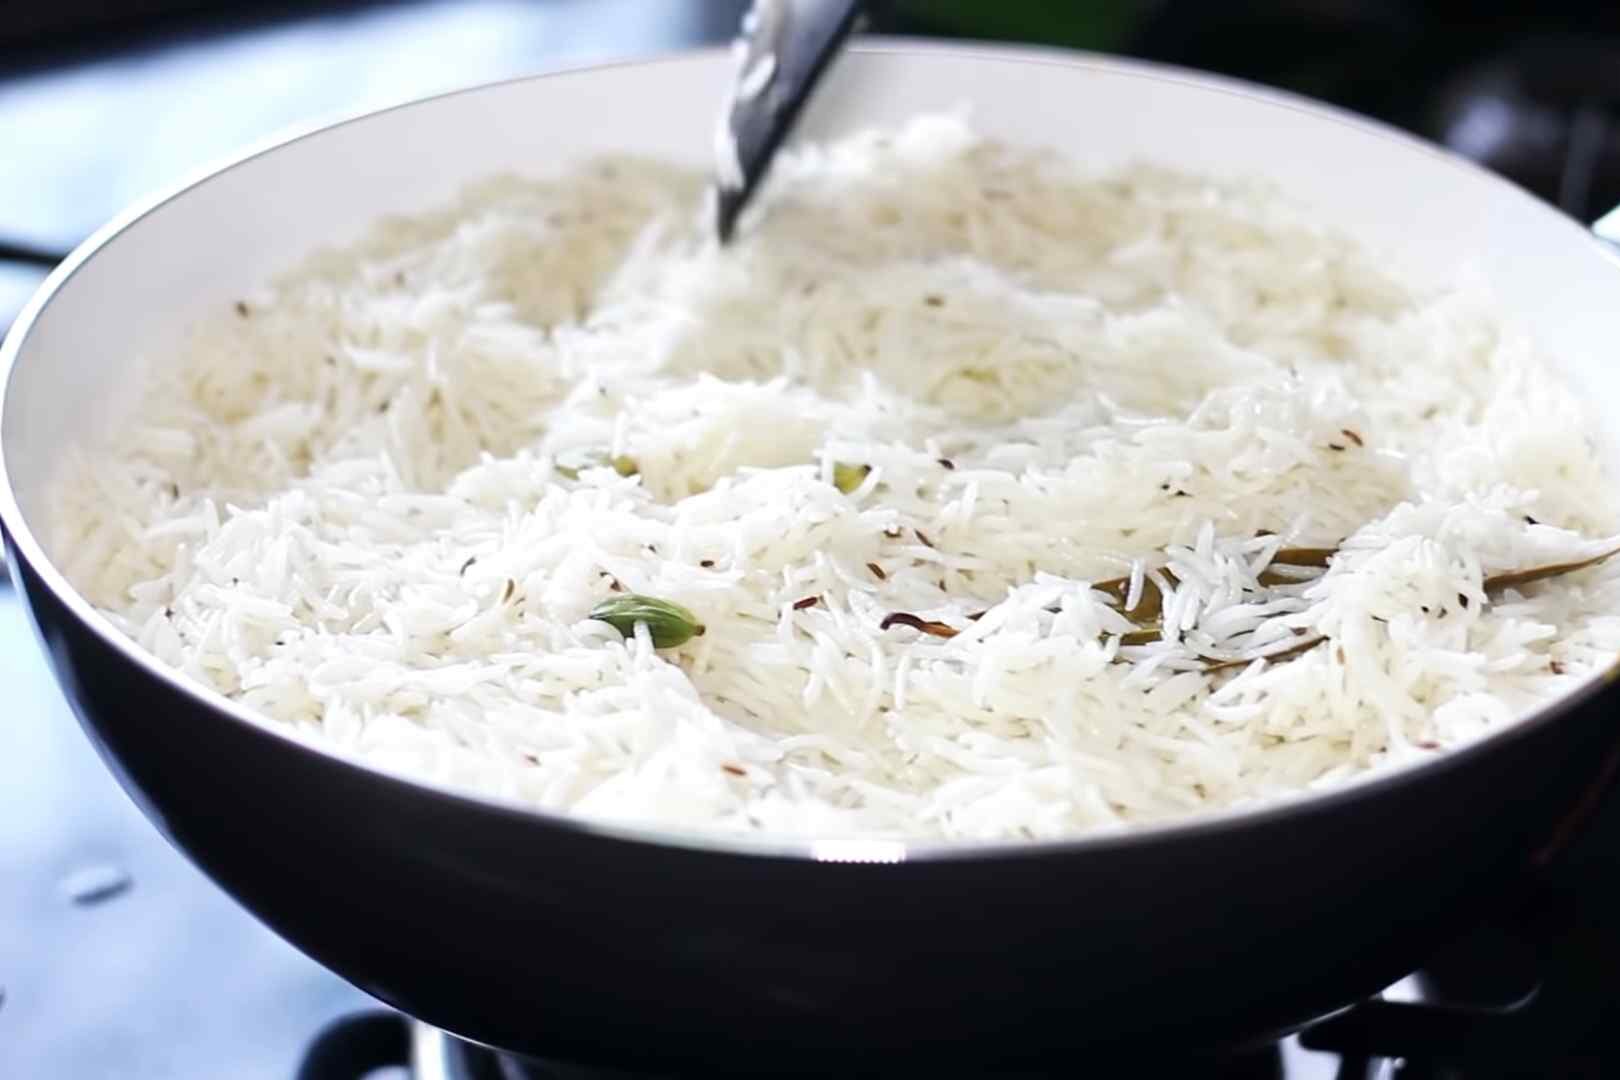
Step 2: Preparing the Rice
Properly preparing the rice is essential for achieving the perfect texture in your Chicken Dum Biryani.
Rinsing and soaking the rice removes any impurities and helps to prevent it from becoming sticky.
Cooking the rice until it is 70% done ensures that it will be fully cooked during the dum cooking process without becoming mushy.
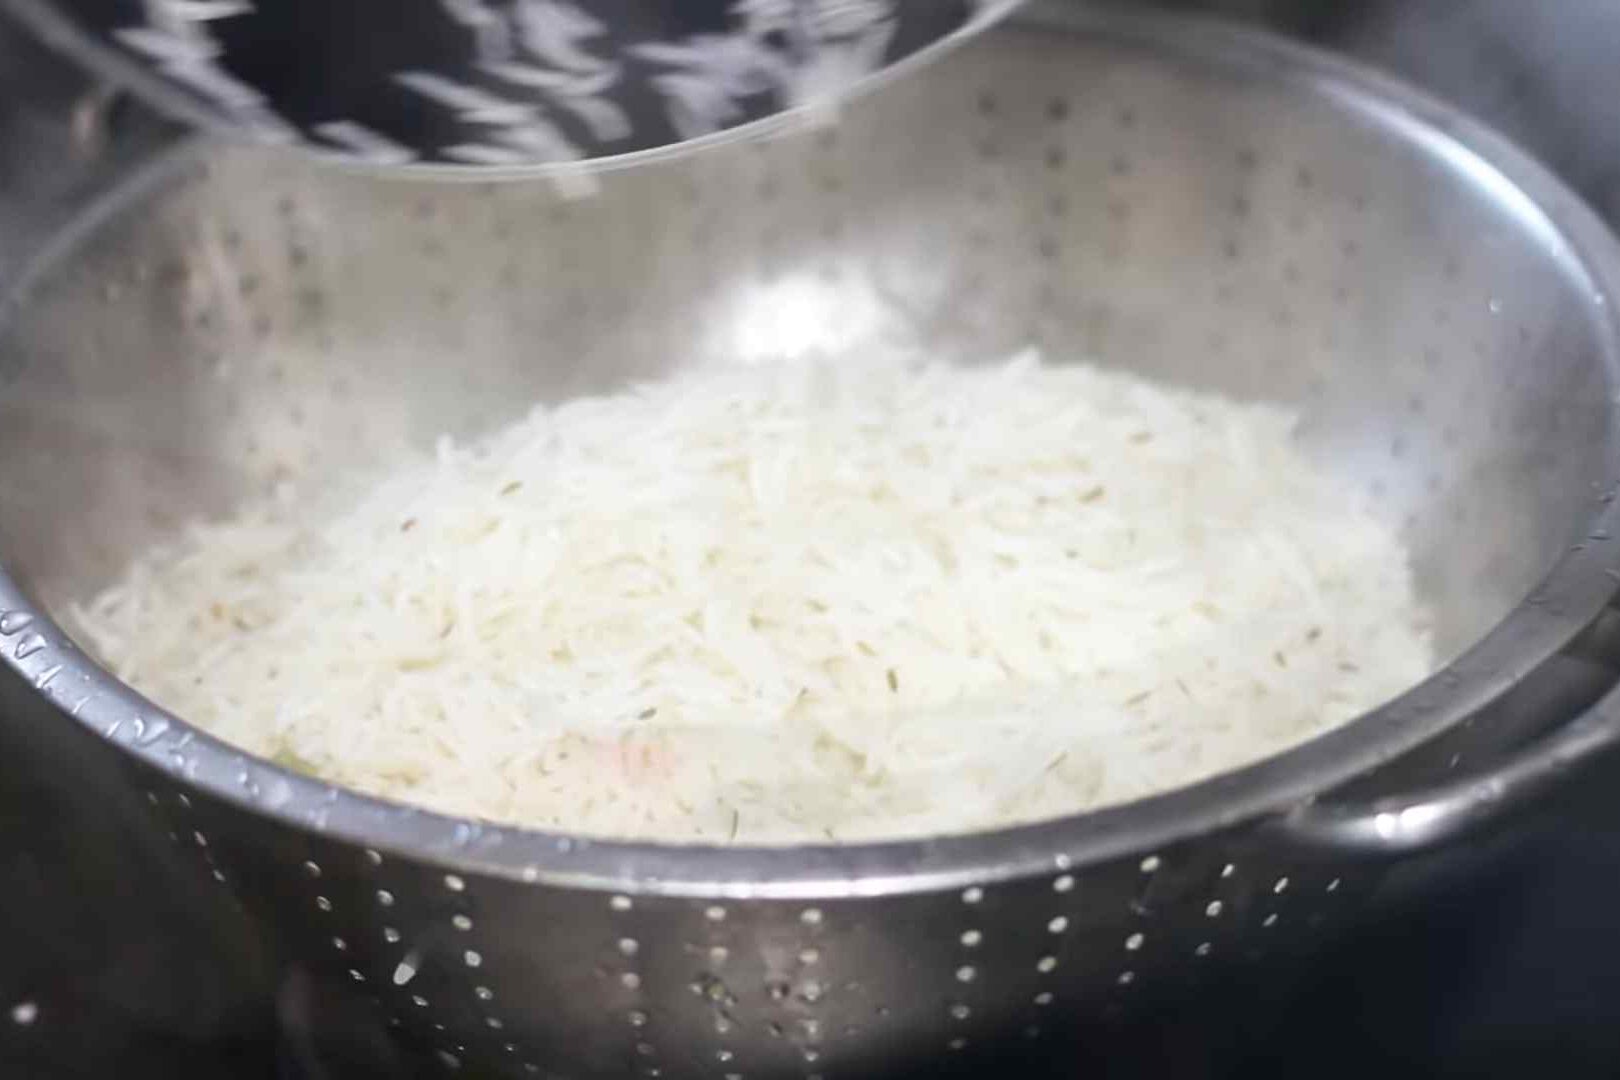
- Rinse the basmati rice under cold water until the water runs clear. This helps to remove any excess starch from the rice.
- Soak the rice in water for about 30 minutes. This will soften the rice and ensure it cooks evenly.
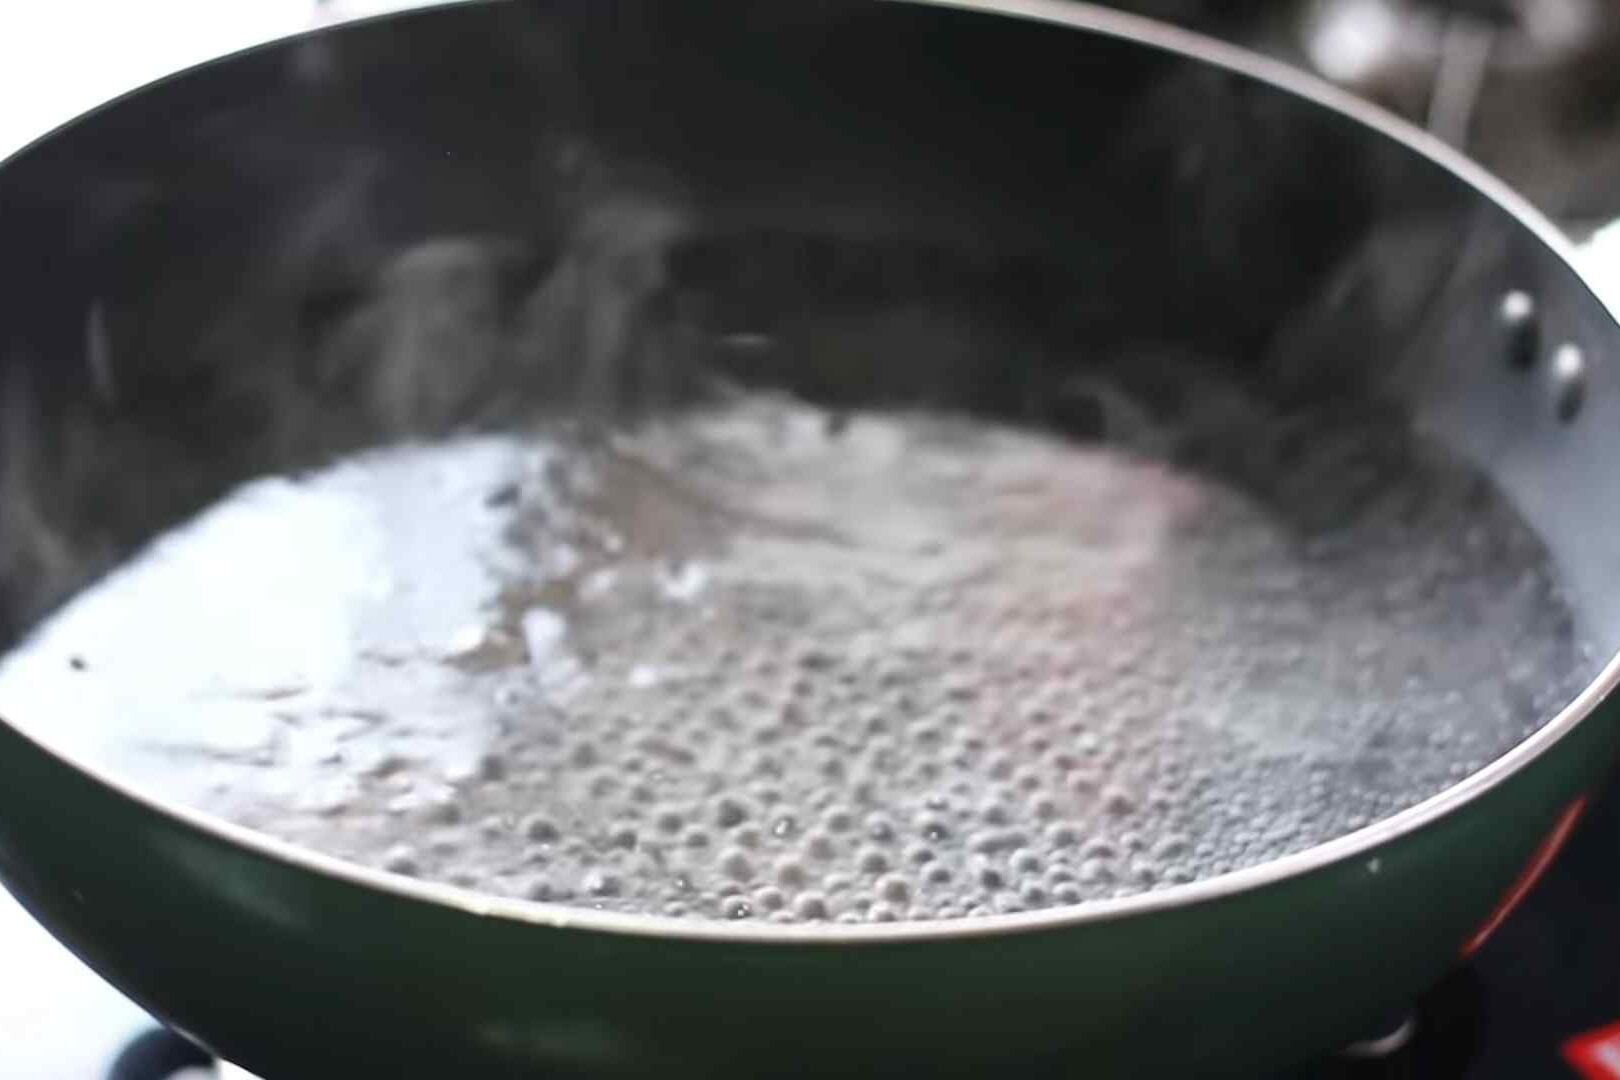
- In a large pot, bring water to a boil. Add salt to taste.

- Drain the soaked rice and add it to the boiling water. Cook the rice until it is 70% done. This means the rice should still have a slight bite to it.
Step 3: Cooking the Chicken and Rice Separately
Cooking the chicken and rice separately allows each component to be cooked to perfection. Sautéing the onions until they are caramelized adds a sweet and rich flavor to the biryani.
The tomato-based gravy provides a tangy and savory base for the dish. Layering the rice and chicken ensures that the flavors are evenly distributed throughout the biryani.
- In a large skillet, heat cooking oil over medium heat.
- Add the sliced onions and sauté until they turn golden brown and caramelized.
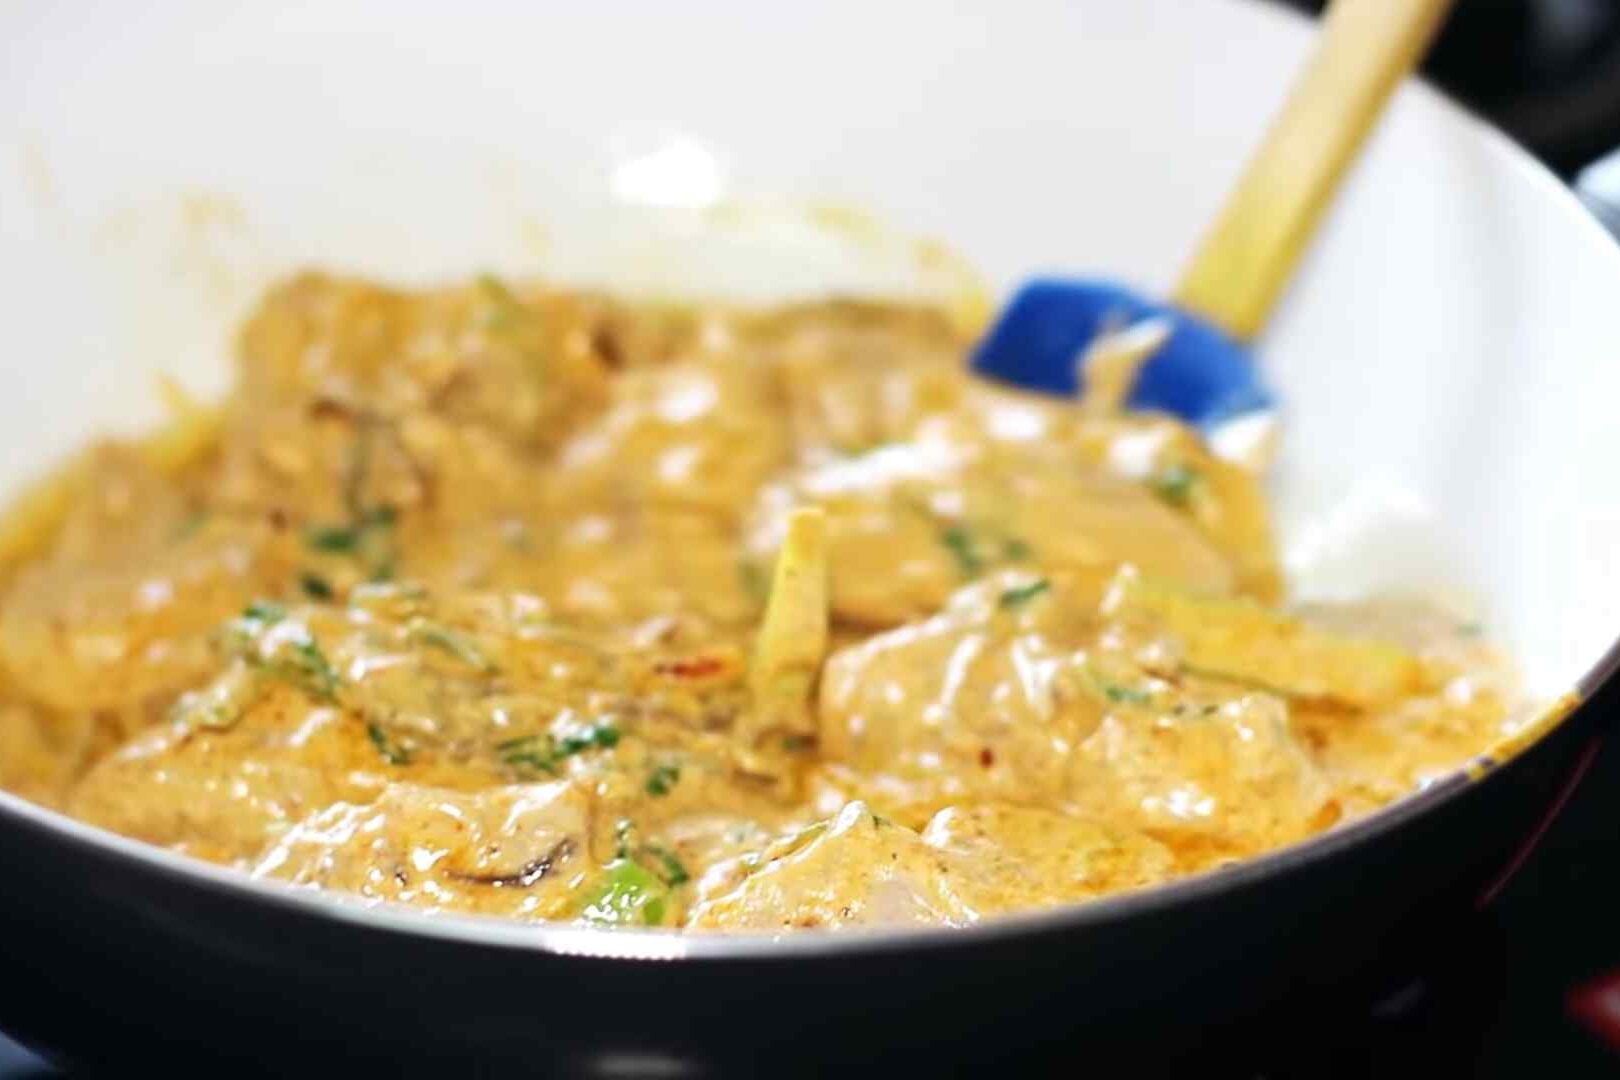
- Add the chopped tomatoes and green chilies. Cook until the tomatoes are soft and the mixture becomes a thick gravy.
- Add the marinated chicken to the skillet and cook until it is almost done. This should take about 10-12 minutes.
- Once the chicken is cooked, remove it from the skillet and set it aside.
- In the same skillet, add a layer of partially cooked rice on top of the gravy. Spread it evenly.

- Add a layer of cooked chicken on top of the rice.
- Repeat the process of layering rice and chicken until all the rice and chicken are used.
Step 4: Layering the Biryani
Layering the biryani with mint leaves, coriander leaves, and lemon juice adds freshness and a burst of flavor to the dish.
The lid helps to create a steamy environment, allowing the flavors to meld together during the dum cooking process.
- Sprinkle a handful of mint leaves and coriander leaves on top of the layered rice and chicken.
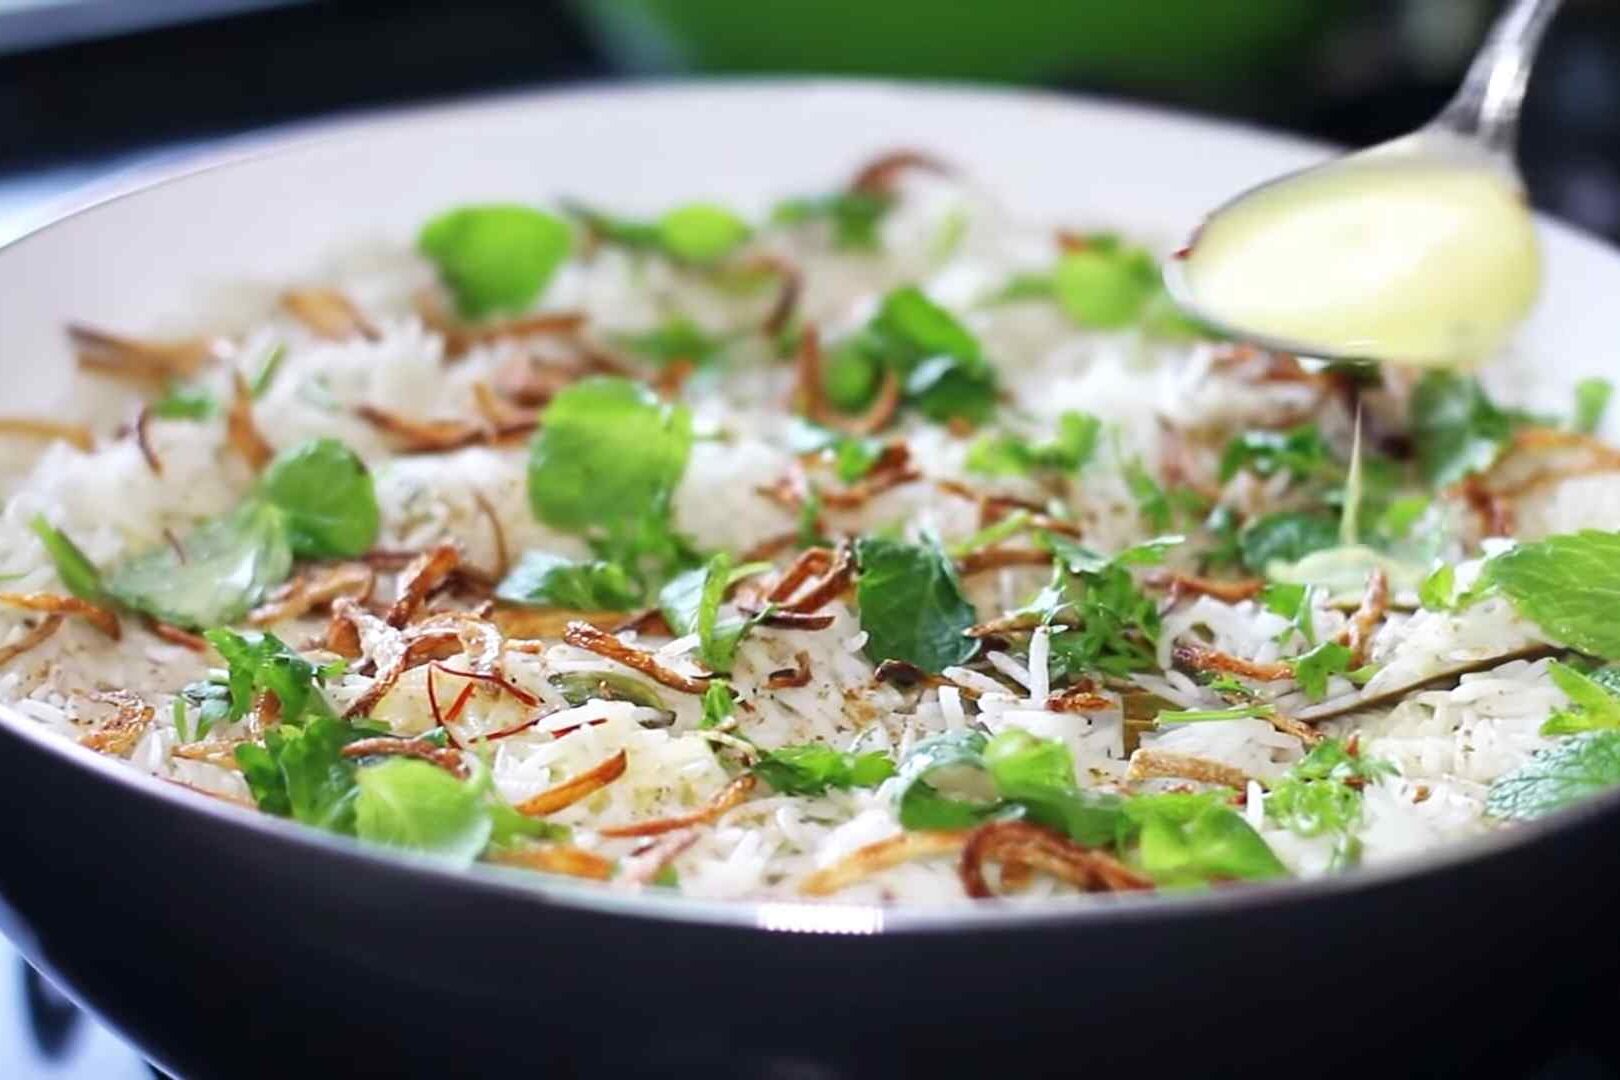
- Drizzle the lemon juice evenly over the layers.
- Cover the skillet with a tight-fitting lid to seal in the flavors.
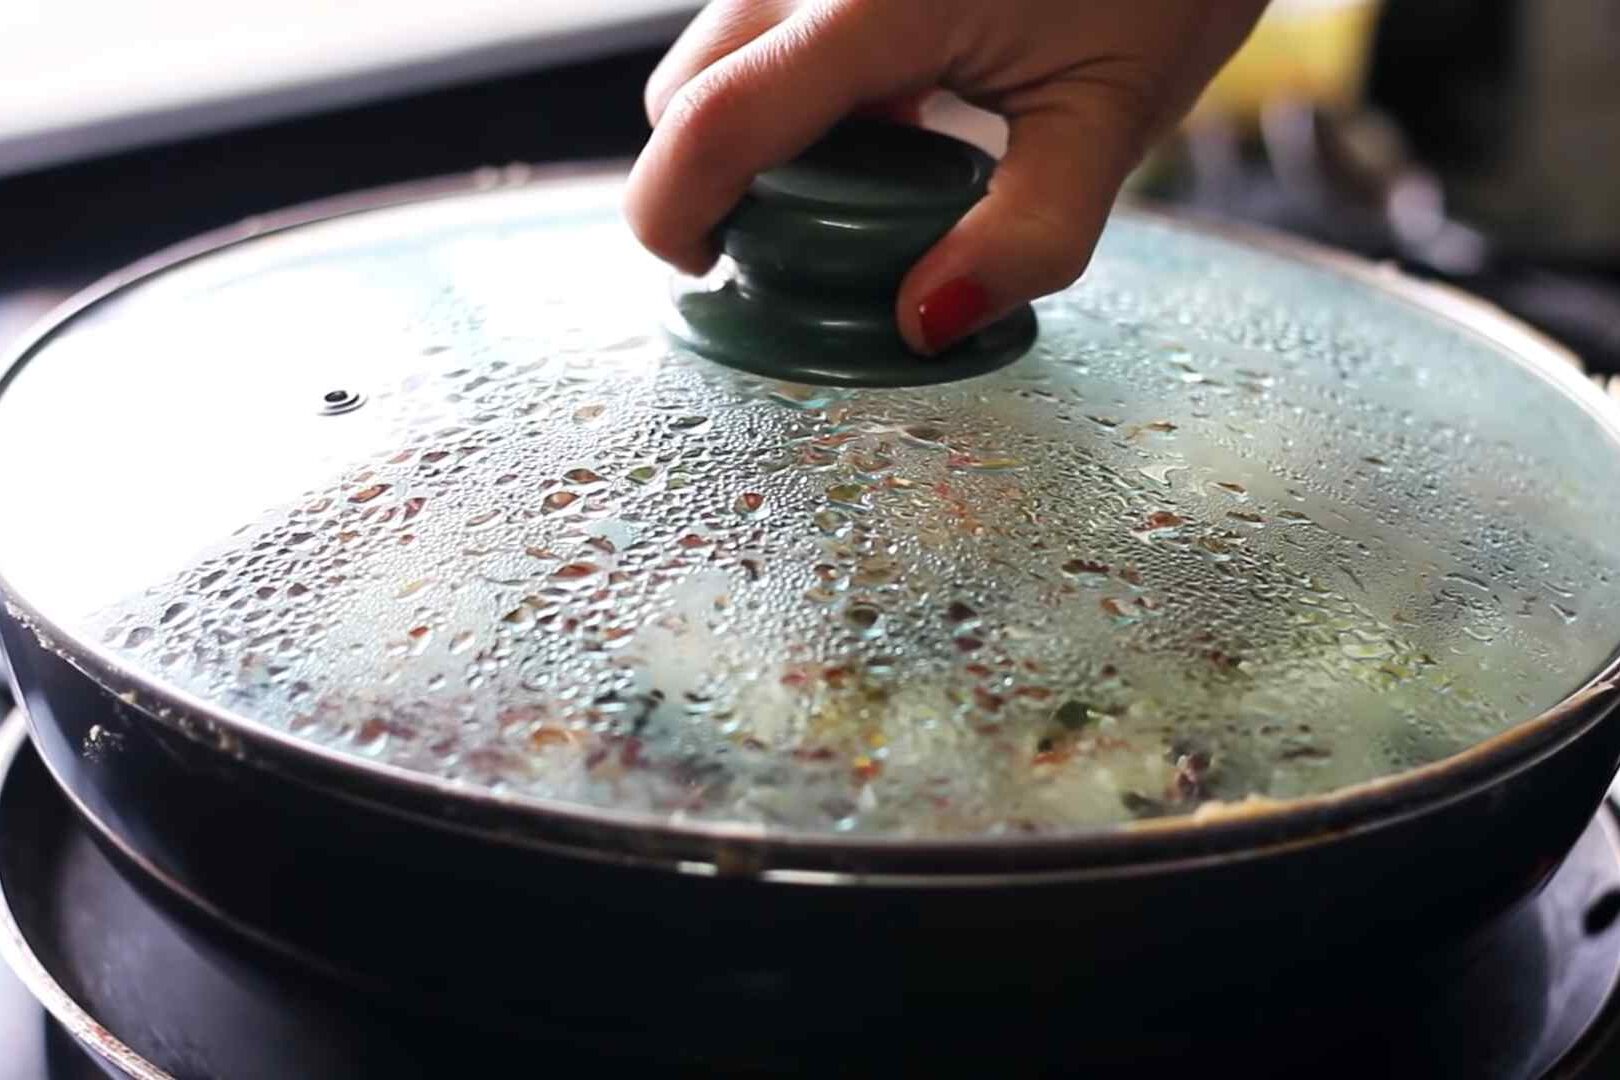
Step 5: Dum Cooking the Biryani
Dum cooking is a traditional Indian cooking technique where food is cooked in its own steam in a sealed container.
This slow-cooking method allows the flavors to intensify and the rice to absorb the aromatic spices, resulting in a flavorful and fragrant biryani.
- Place the skillet on low heat and cook the biryani for about 20-25 minutes. This slow cooking process allows the flavors to develop and the rice to absorb the aromatic spices.
- After 25 minutes, turn off the heat and let the biryani rest for another 10 minutes. This allows the flavors to further infuse and the rice to become tender.
- Remove the lid and gently fluff the rice with a fork to separate the grains.
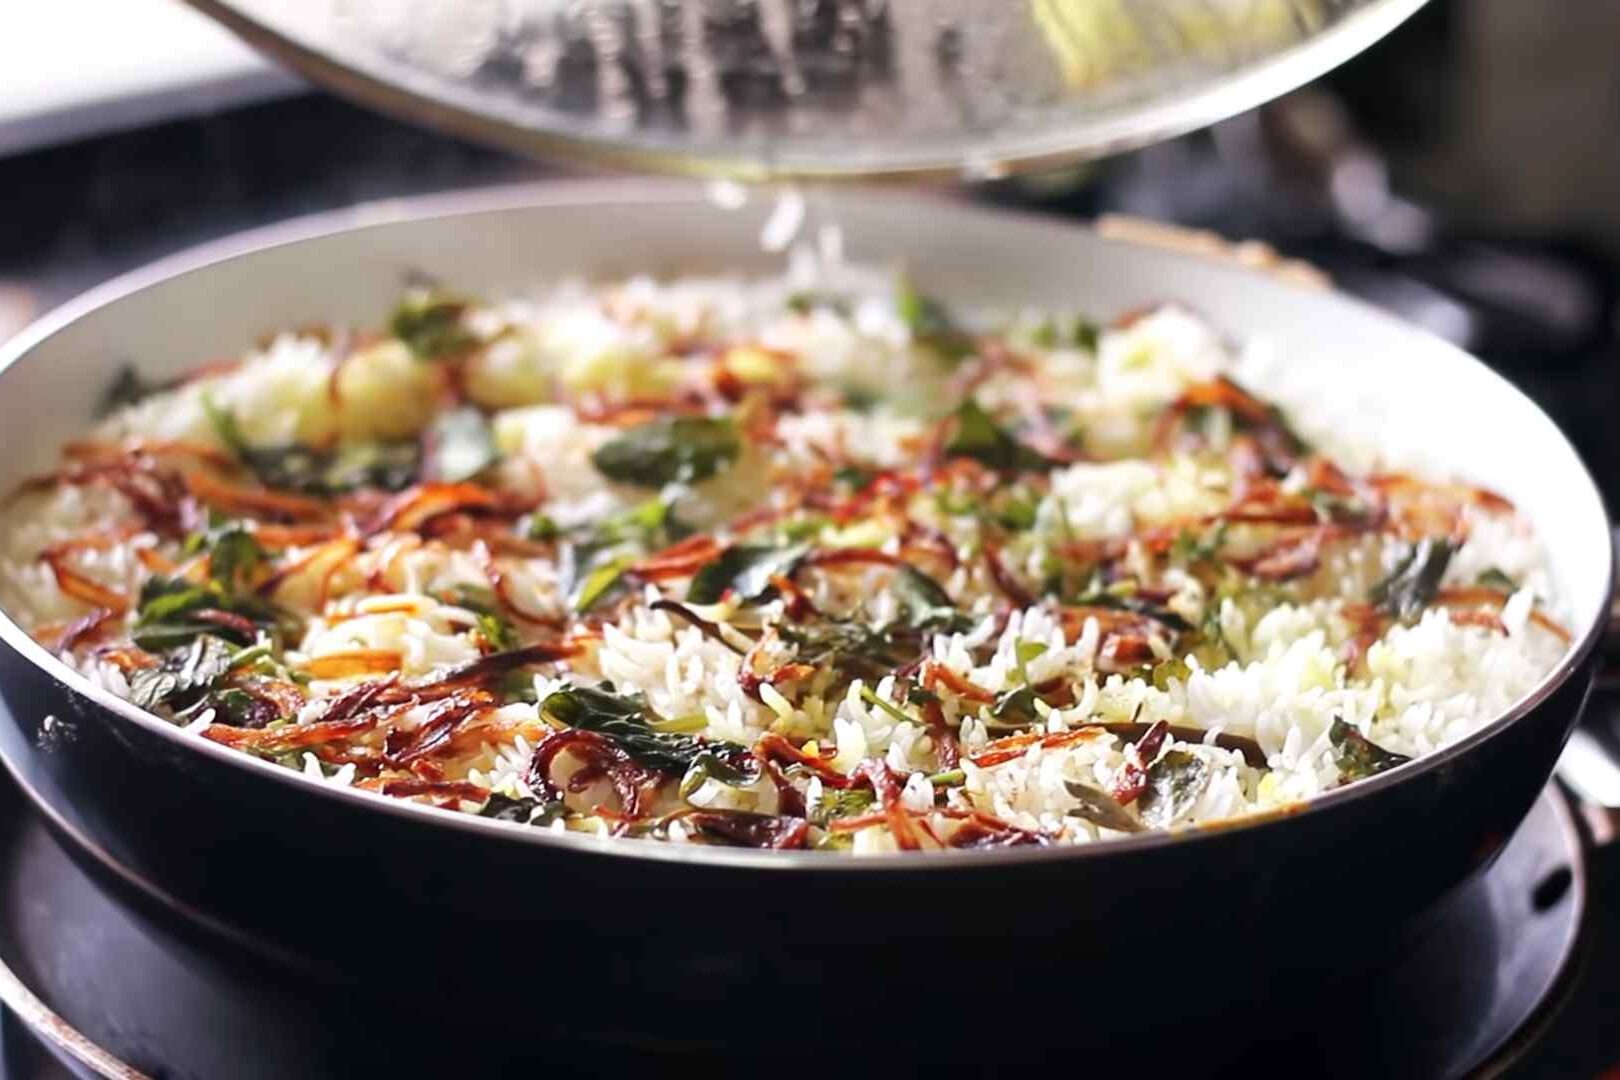
Step 6: Garnishing and Serving the Biryani
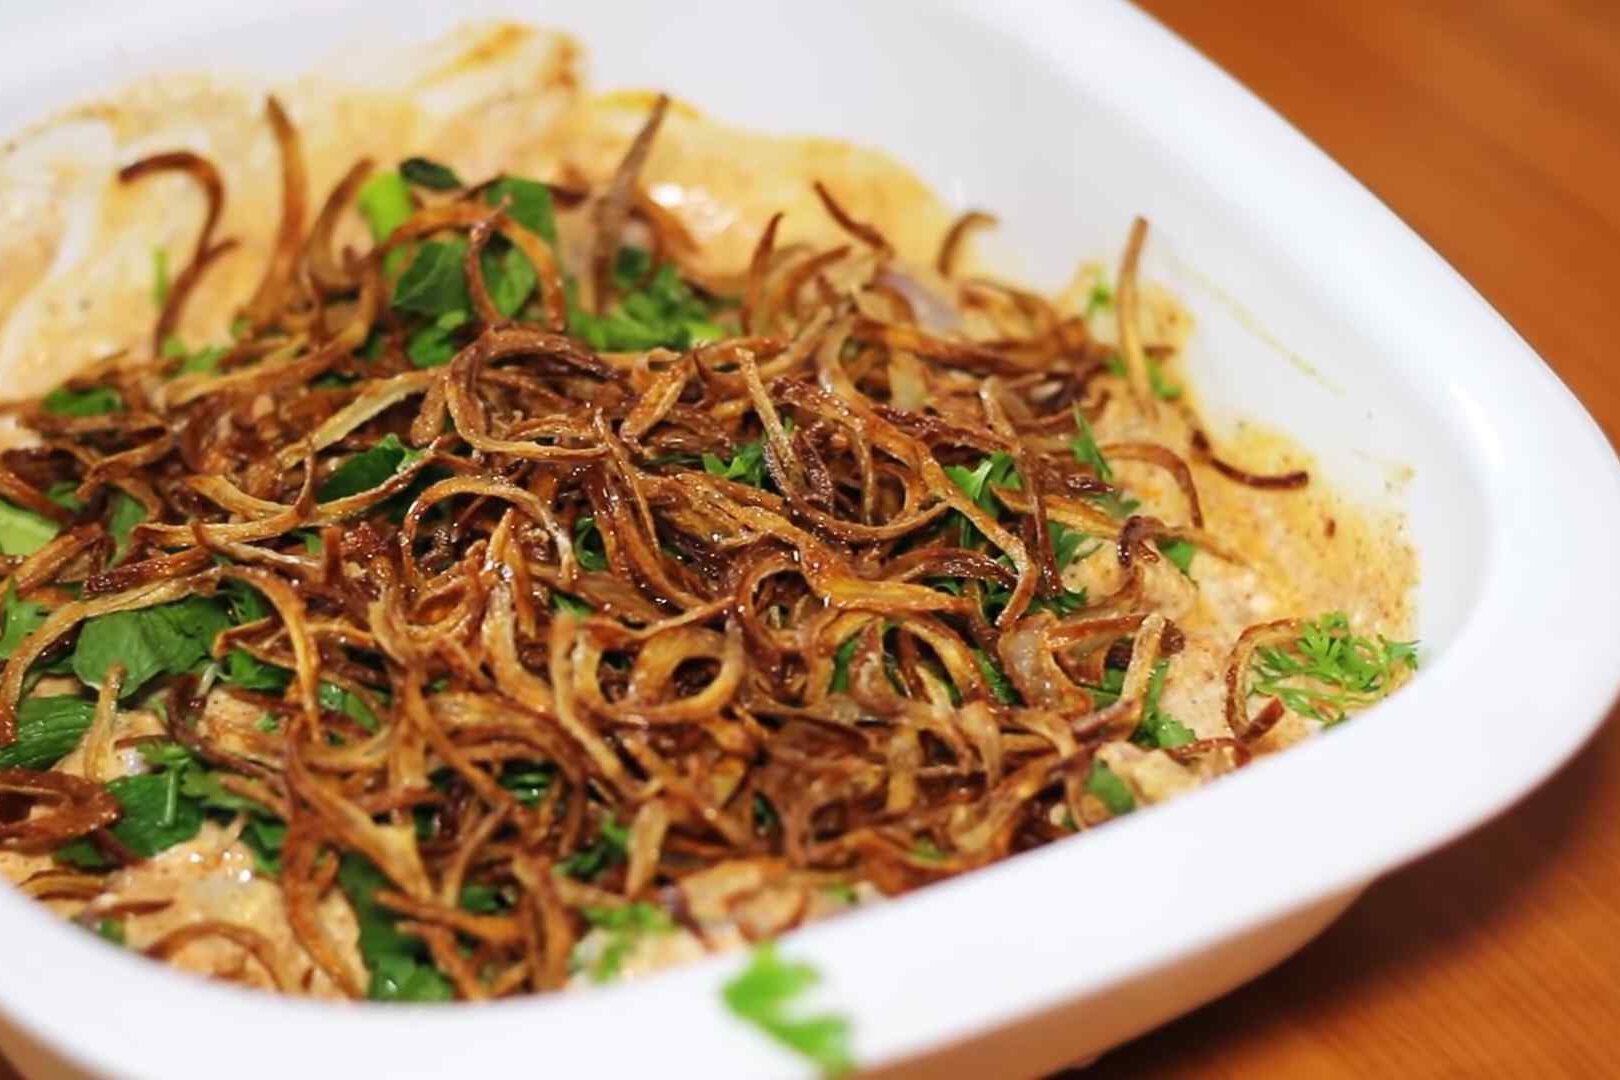
Garnishing the biryani with fried onions, mint leaves, and coriander leaves adds visual appeal and enhances the flavors of the dish.
Serving the biryani with raita and a side of salad provides a refreshing contrast to the rich and aromatic flavors of the biryani.
- Garnish the Chicken Dum Biryani with fried onions, mint leaves, and coriander leaves.

- 3Serve the biryani hot with raita (yogurt sauce) and a side of salad.
Tips for Perfect Chicken Dum Biryani
Use good quality basmati rice for the best results.
- Ensure the chicken is marinated for at least 2 hours to allow the flavors to develop.
- Use a heavy-bottomed skillet with a tight-fitting lid for dum cooking.
- Adjust the amount of spices according to your taste preferences.
- Allow the biryani to rest for a few minutes before serving to allow the flavors to meld together.
Conclusion: Enjoying Your Homemade Chicken Dum Biryani
Congratulations! You have successfully cooked Chicken Dum Biryani like a pro chef. Now, it’s time to savor every delectable spoonful of this aromatic and mouthwatering dish. Whether you’re enjoying it with family or impressing your friends at a dinner party, your homemade biryani is sure to be a hit.
Remember, cooking is all about experimenting and adding your own personal touch. Feel free to adjust the spices and ingredients to suit your taste preferences. With practice and a little bit of patience, you can master the art of cooking Chicken Dum Biryani and create a dish that will be cherished and enjoyed for years to come.
So, gather your ingredients, follow our step-by-step recipe, and get ready to indulge in the flavors of India. Happy cooking and bon appétit!
Also follow us on our Facebook Page: Feast Flavor